Getting started in beekeeping
Have you always been interested in beekeeping but don’t know where to begin?
Here you will find all the key steps and necessary equipment to get started on the right foot!
The steps

The Bees
A nucleus, the “must-have” to start beekeeping.

The Hive
Setting up a house for your bees

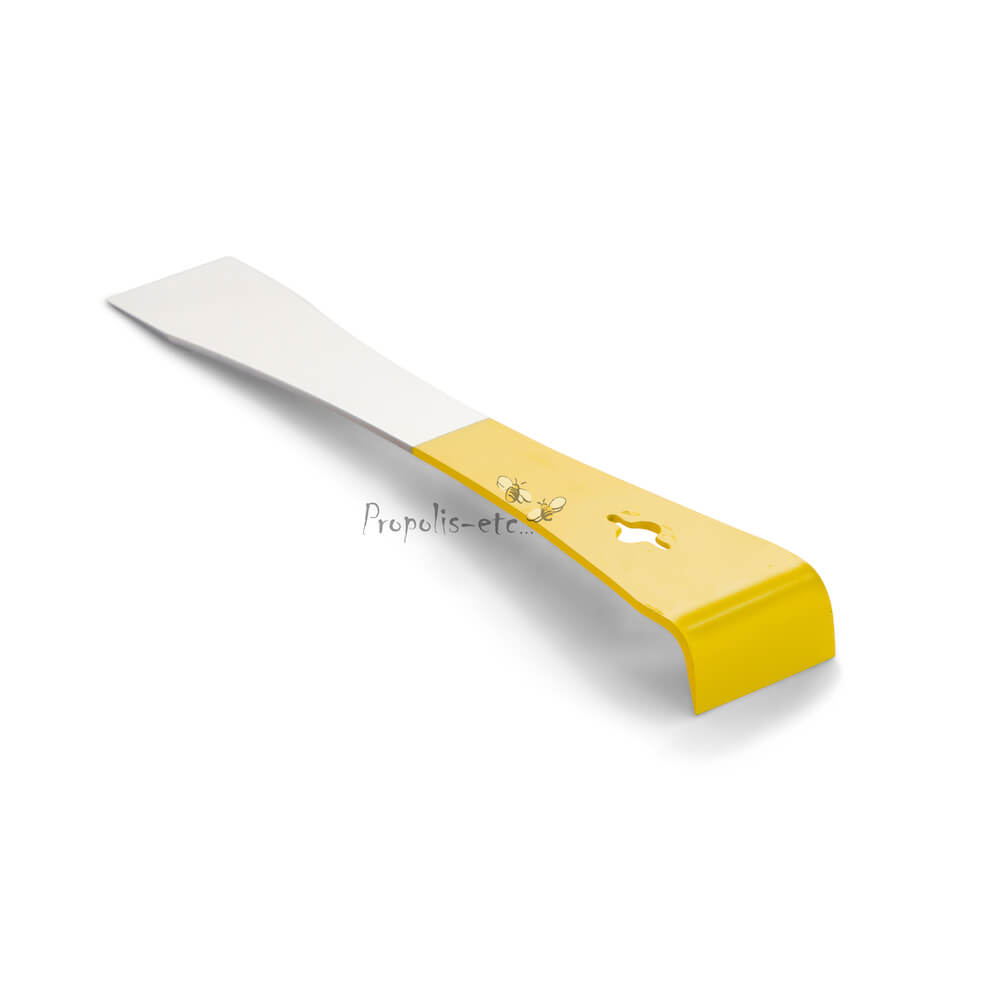
Tools for the Apiary
What are the required tools to inspect your hive ?

Feeding the Colony
We’ll show you how and when !

Monitor and Treat against Varroa
It’s the secret to success…

Harvest the Honey
From removing honey supers to bottling.

Prepare the Colony for Winter
How to wrap your colony and why !
Reserve your spot now for our upcoming training session
(only in French)
Choose your bees
Reserving your bees should be the first step in your journey into beekeeping. This step ideally takes place between January and the end of March to ensure that a colony is available for you. You’ll hear about nucleus, nuclei, nucs… What do all these words mean? The word “nucleus” refers to a single colony in the “baby” stage; “nuclei” is simply its plural form, and “nucs” is the abbreviation in beekeeper language. It essentially consists of 4 frames filled with bees (around 10,000), with a young marked queen (for better visibility if needed), which you can transfer into the middle of your new hive.
Nuclei are usually available towards the end of May, with the pickup time varying depending on whether the weather conditions have favored the development of small colonies in our apiaries.
Because yes, these bees come from Quebec and are raised by our small team of passionate beekeepers.
Attention! When starting with a brand-new hive, with frames on foundations (not drawn out), it’s better to begin with the nucleus option rather than the bee package that might be offered earlier in the season. The bee package is a small box containing 1.5 kg of “bulk” bees, meaning without frames, and they typically come from Italy. It can be a good option but is recommended when a colony has already inhabited the hive because the resources needed to build new frames are too significant. Did you know that bees need to consume 10 kg of honey to produce 1 kg of beeswax?
for a nucleus
in a bee package
The hives
Bees will need a home, and to accommodate the beekeeper, we provide them a dwelling – the beehive. There are all kinds of models, and it can be easy to get lost in the beginning.
Our recommendation is to go for the standard Canadian, in Langstroth sizes, to maximize compatibility and facilitate easy access to hive components when needed quickly.
Our kits consist of 2 supers (for the complete list, please click on the product sheet), but for your first season, you might need additional space. Consider getting an extra super for honey, either medium-sized (2/3) or standard (9 5/8).
There are 3 things you will need to choose :
#1
What bottom board do I prefer?
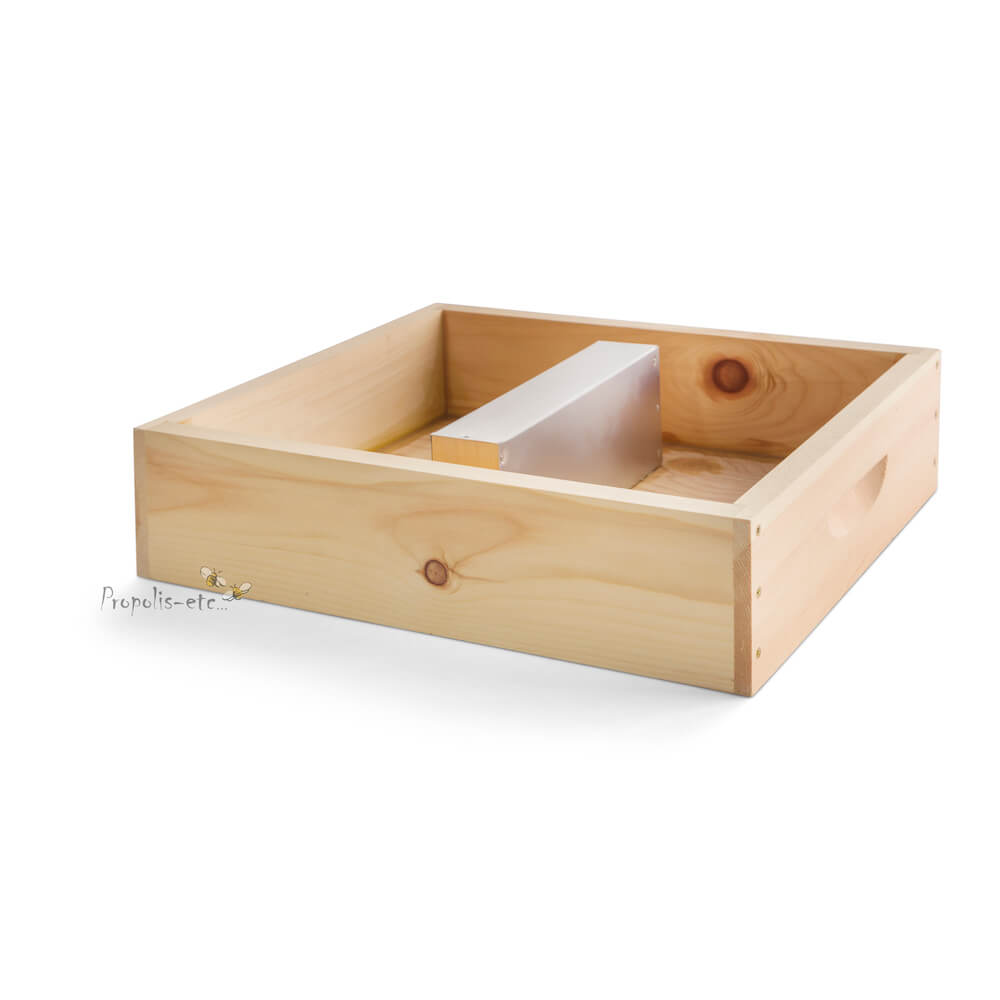
The bottom board is the foundation of the hive. It serves to protect the colony from predators and becomes the entrance and exit mostly used by foragers.
There are 2 types of bottom boards: the reversible bottom board and the screened bottom board with a drawer. By clicking on each link, you can learn more about the use of both types and decide which one suits you best. The screened bottom board with a drawer is often recommended for beginner beekeepers as it allows for better management of varroa mite monitoring, but both have their advantages and disadvantages.
In an ideal scenario, the reversible bottom board is preferred in winter, and the screened bottom board with a drawer is used from May to October. It’s up to you to decide based on your budget whether this is realistic or not. Bees adapt to either, but this method is considered ideal.
#2
What type of frames do I want?
You may ask, “Which is better?” The unequivocal answer remains, since time immemorial, wooden frames with natural wax foundation.
As wax is a noble and natural material for bees, the speed at which they draw out the cells (constructing the foundation) will be three times faster than if frames with waxed plastic foundation are used.
The latter remains an economic compromise that beekeepers can make freely without compromising the health of the colony. However, natural wax has multiple significant advantages in terms of colony hygiene. There is no waste when it’s time to rotate frames in the brood chamber. The wax can be cleaned and used to make candles. You can regenerate your frame by installing a new wax foundation, whereas plastic foundation is not recyclable.
Let’s move towards sustainable beekeeping !
#3
Natural pine, painted, or paraffin-dipped?
The parts of the hive exposed to the elements need protection. If you choose the natural pine option, it will be your responsibility to paint (with a low-VOC paint) or stain (linseed oil) the outer walls of your equipment. The pre-painted option we offer is all in white, so you can unleash your creativity with other colors if you wish. Bees like diverse colors, so grab your paintbrushes! They have much easier time orienting themselves when the landscape is different, and this will prevent the phenomenon of drift.
Whether treated with paint or stain, you’ll need to reapply one or two coats after a few years, depending on the condition of your equipment. If you always lack of time, you might be interested in the paraffin-treated hive. For a few extra dollars, your hive is protected for life, remains free of pathogens, and retains a natural wood appearance. It could be just as beautiful in your backyard.
Tools for the Apiary
There’s something for everyone, but here are our essentials for heading to the apiary.
Don’t forget to protect yourself well, especially if you lack confidence at the beginning; dressing appropriately can make a difference in your experience. Bring a jacket, or even better, a suit (both protect the face), and a pair of gloves.
Why feed the bees ?
Did you know that the honey bee, ‘Apis mellifera,’ the one that produces honey abundantly, is not native to this region? It was imported by the first European settlers in 1622, who arrived in Virginia.
This demonstrates that bees have adapted and continue to do so to survive in our extreme environments. Consider our winter, where the bees cannot leave the hive to defecate for sometimes more than 3 months. Everything they eat will stay inside their intestines until they can release it.
Taking into account that our late summer blooms are rich in protein (asters, goldenrod, buckwheat), current apiculture research suggests that too much protein in a confined environment, i.e., during the winter period, can lead to issues of dysentery in bees.
For this reason, we remove the honey above the queen excluder at the beginning of September to feed the colonies with sugar syrup, maximizing the chances of successful wintering.
The sugar used is simply cane sugar, white granulated (it is the lightest), which will be diluted in hot water. For fall feeding, the ratio is 2 kg of sugar to 1 liter of water. Be careful not to boil the mixture, as it becomes TOXIC for the bees. When the water is very hot, reduce the heat and incorporate the sugar, stirring until there are no more crystals. Allow it to cool before putting it in the feeder. Take this opportunity to add our supplements that give a good boost to the health of the colonies. Would you rather buy your syrup already made? It is already prepared for you, in containers of 20 liters, 200 liters, or 1000 liters. Simply follow the link.
Spring feeding when temperatures reach 10º C
Fall Syrup between September and October
how to feed
The most important aspect of beekeeping is to learn about the environment in which bees operate and to assist them in adapting to it. You’ll hear a thousand and one pieces of advice, but if you don’t apply your intelligence in the service of your colony, you may repeat mistakes that could have been avoided through careful observations during your inspections.
February
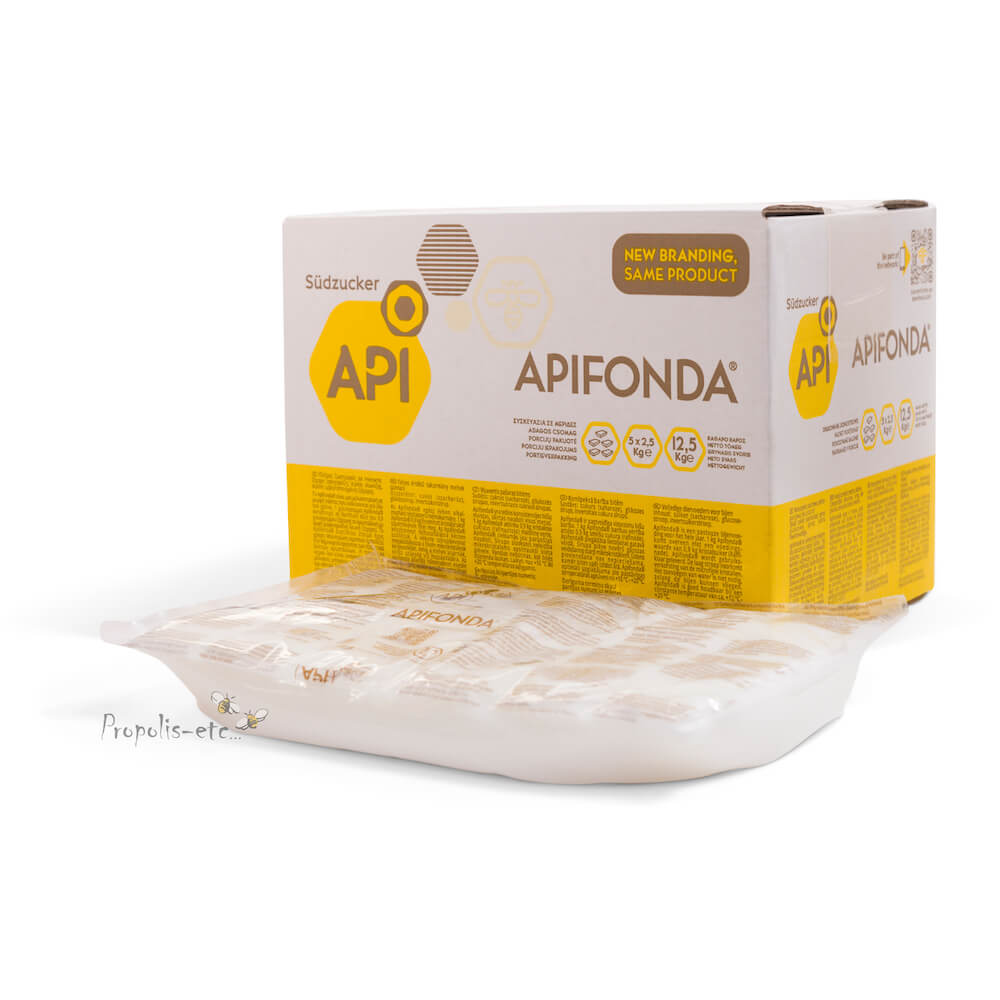
The weather is gradually warming up… you can strap on your snowshoes and check if your bees have survived until now! Please note, no full inspection is to be done. It’s a brief visit to verify, by gently lifting the hive from behind, if they have enough food until the weather allows them to forage for the first nectar and pollen. If the hive lifts easily with one hand, it may be a sign that they have consumed a lot. In this case, insert a block of fondant, commonly called “Apifonda,” essentially a firm sugar paste that will provide the bees with quick access to carbohydrates until spring arrives. Yes, you will open the hive, but do it very quickly, and then put the insulation back. At the end of winter, the cluster is at the top; you will thus have a quick answer to whether the hive has survived or not.
April - May
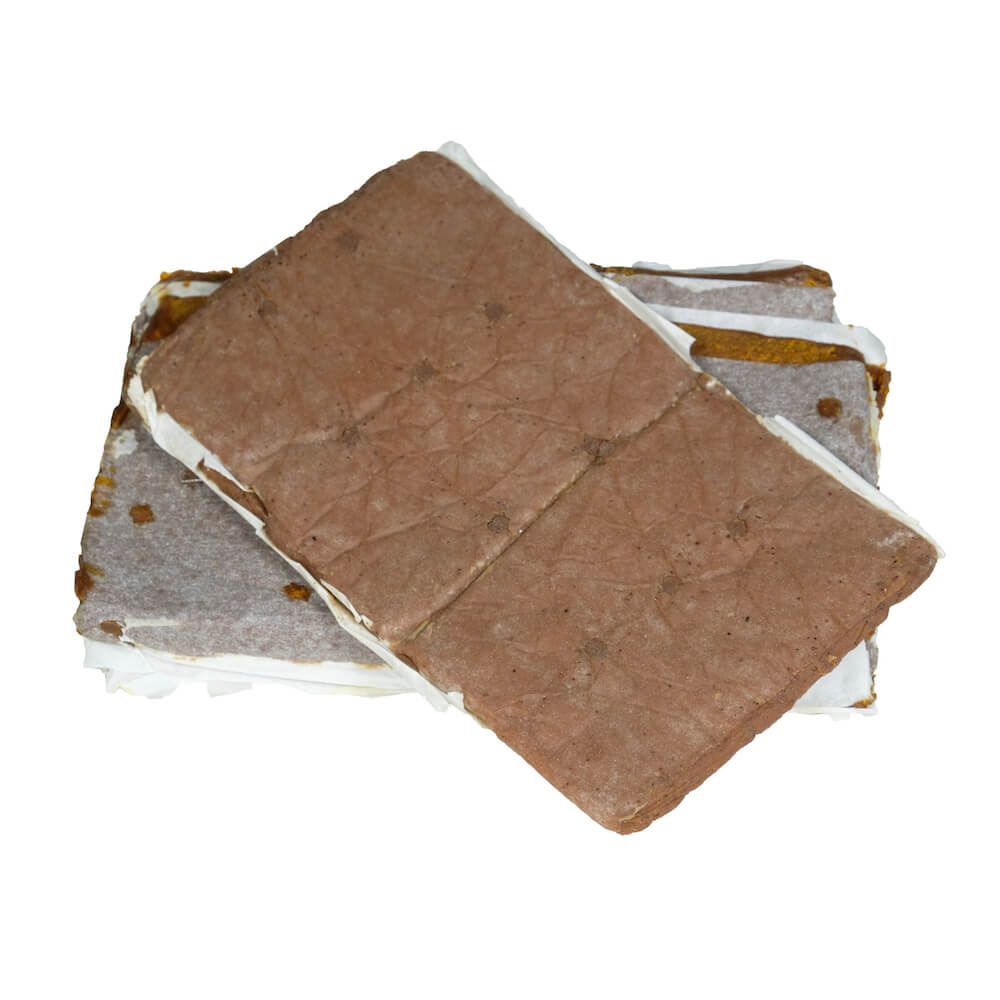
When you start to see pale brown traces on the snow or on your white car, it’s a sign that your bees are busy with their cleansing flight. The good weather finally allows them to go out and empty their intestines. This is a sign that maples, alders, and willows might be producing their first pollens, and the queen is gradually increasing her egg-laying. It is common for beekeepers to use a protein patty, the famous “Ultra Bee Pro patties”, at this stage to “boost” the colony, sometimes weak after winter. This is usually very helpful in increasing the hive’s population because the presence of proteins or pollen signals to the queen that she can lay eggs as the larvae will be well-nourished in their development.
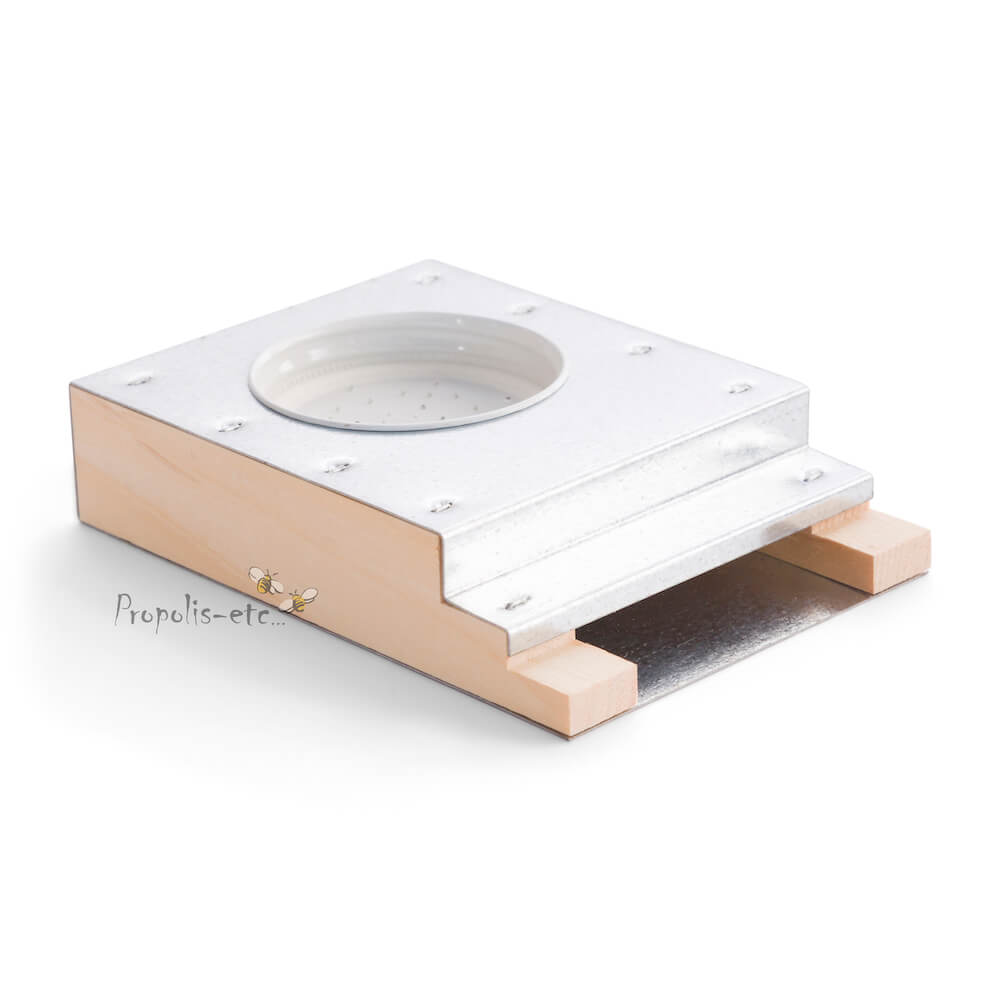
In spring, it is not mandatory to feed the colonies, but beekeepers usually provide 1 liter or 2, or more if the weather is rainy and it is difficult for the bees to access natural resources. In the case of spring, the syrup will be even lighter, i.e., 1 kg of sugar to 1 liter of water, to gently stimulate the colony and give a subtle impression of a nectar flow. The wooden or plastic Boardman entrance feeder is used with a Mason jar containing the sugar solution. It’s interesting to see if the bees consume it and at what speed. Be cautious not to give syrup if the temperature is too cold. It is said that below 8ºC, bees do not significantly eat. If only the nights are cold, you can insulate the Mason jar to prevent the syrup from cooling or simply remove it for the night.
September
As mentioned earlier, sugar syrup is the food we will start giving in early to mid-September. We recommend calculating 20 liters per colony in a Miller feeder, whether it’s on 1 or 2 brood boxes. Gradually provide 6-7 liters each week, as soon as the honey supers are removed. It is crucial that the bees can consume and store the syrup before it gets too cold. To learn how to use the Miller feeder, please refer to the product sheet.
Supplements
The purpose of supplements is to optimize the healthy development of colonies by providing them with prebiotics (to improve gut function), vitamin and mineral complexes, as well as support through essential oils.
For mixing in the fall syrup, Nozevit is very supportive, and marine algae mixed with essential oils, such as “Hive Alive” or “Bee Alive“, are also excellent products that have proven their effectiveness.
In spring, Honey Bee Healthy will stimulate the queen’s egg-laying; lemongrass essential oil has multiple benefits for the colony.
The Importance of Monitoring
Did you know that the primary cause of winter losses is the varroa mite? Managing varroa is the cornerstone in beekeeping. Unfortunately, it is a parasite that has spread worldwide and is something we now have to deal with.
The key to maximizing the success of a colony surviving through the seasons lies in your management of varroa. And your first weapon is called monitoring.”
The objectives of monitoring:
1. Assess the level of varroa infestation to decide whether treatment is necessary or not.
2. Determine the effectiveness of the treatment that has been applied.
When: Once a month during the season (between May and October).
Tools for monitoring
Sticky Detection Board
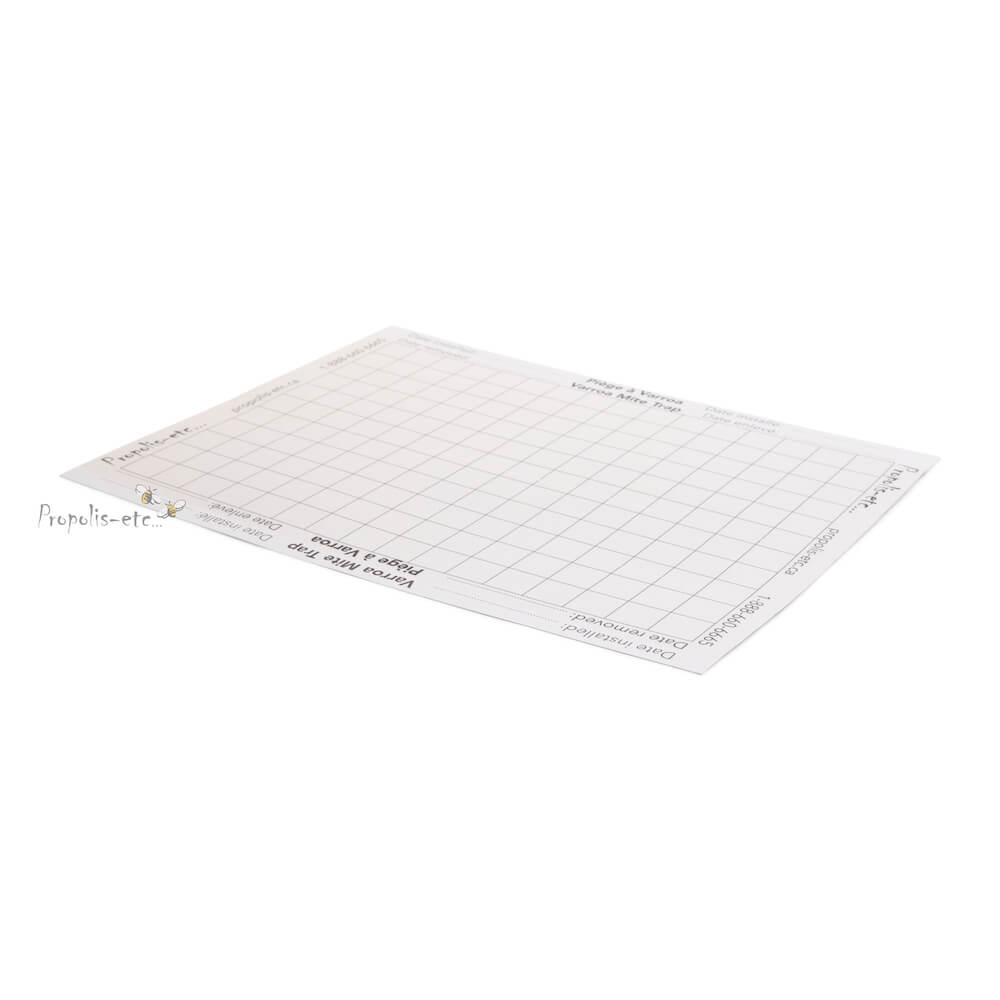
Have you opted for a screened bottom board with a drawer? That’s great because you can easily use the monitoring method with sticky detection board. This method may not be the most scientific, but it is good enough to be recommended. The technique involves leaving the cardboard on the drawer for 72 hours and then counting the natural drop of varroa. Refer to the product sheet for more information on how to use it.
Showing all 2 results
Sampling
This is the most scientific method to assess the infestation rate as it is precise. We recommend using this technique 2 to 3 times during the season, complementing the rest of the months with the sticky cardboard. It involves sampling 200 bees from a brood frame, ideally uncapped, ensuring the queen is not present. The bees are then shaken in alcohol or windshield washer fluid. The result is the number of varroa mites found in the liquid.
TREATMENTS, THE MOST ESSENTIAL
Monitoring is just the beginning! You will then need to treat the colony effectively. Know, first of all, that the infestation threshold for varroa should be higher than 2% to 3% before applying treatment.
Do not fall into the trap of thinking your hive is free of varroa. There may not be many, but infestation is exponential and can decimate a population in a few weeks. Watch this explanatory video on varroa for more information.
Normally, you should treat the colony 4 times a year:
1. At the beginning of the season to start off on the right foot.
2. In July to avoid a fatal infestation in the fall.
3. At the beginning of September, a particularly rigorous treatment.
4. In November, finishing with treatment using oxalic acid, to ensure the bees do not go into winter stressed due to these parasites.
Several resources are available to help you choose the right treatment. Ask for our assistance if needed so that we can guide you to the appropriate information.
Honey harvest
You will work in harmony with the colony, which expands impressively until mid-July. The season is not too rainy or too dry, and the foragers are giving their all to collect maximum provisions. It’s important to provide enough space on time to avoid swarming and honey congestion in the brood chamber(s). We follow the 80% rule; the honey super is added below the filled honey super at 80%.
Here in Quebec, on average, a hive can accumulate 100 lbs of honey in a season, but several factors can affect production:
1. Weather conditions affecting nectar availability in flowers.
2. Bees’ ease of access to floral resources.
3. Abundance of nectar depending on the types of flowers.
4. Does the colony need to build new frames?
5. Queen genetics.
6. Did the colony swarm during the summer, or was there a natural queen replacement, etc.
The primary focus is the health of the colony, and then one can benefit from surplus resources. Generally, honey is ready to be harvested when it is fully capped (wax seal on each cell). This indicates optimal moisture content, but it’s not an exact science, as very humid summers can influence it.
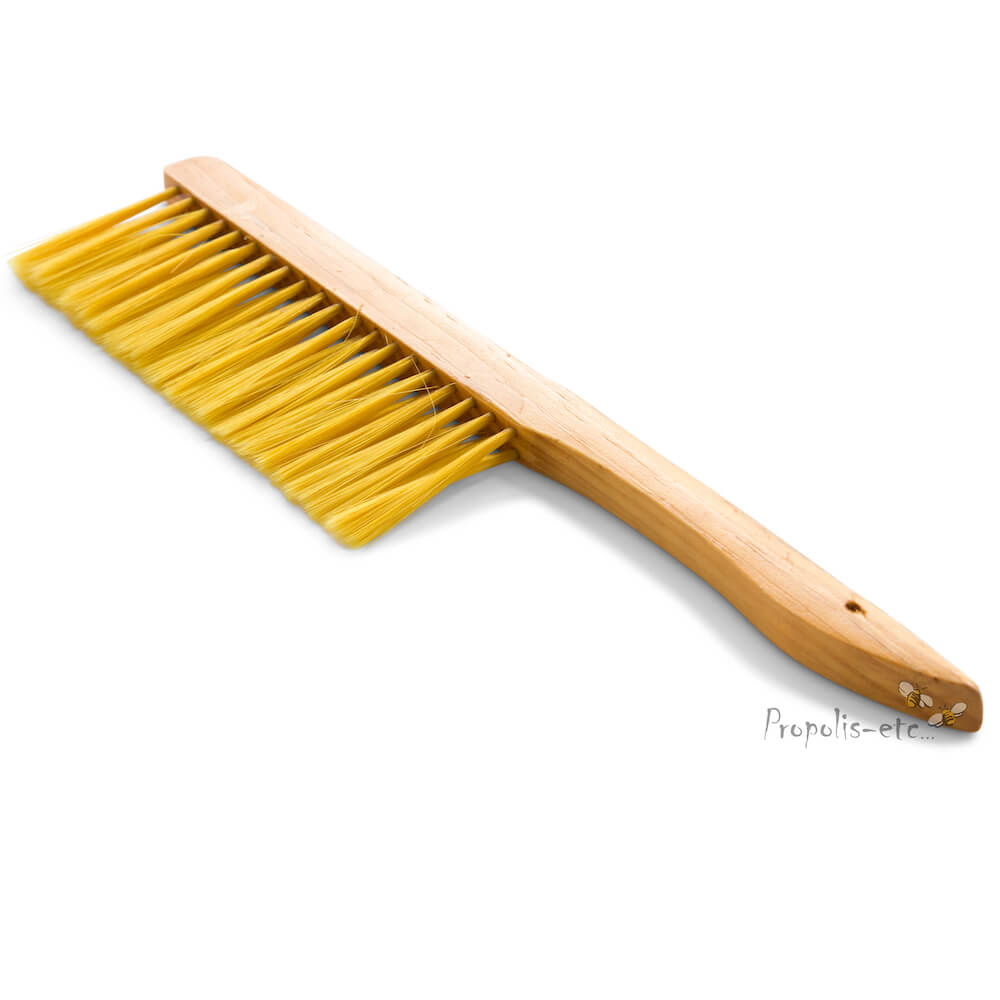
To remove honey from the hive, the traditional method involves using a bee brush to remove bees from each frame. However, there is now the bee escape, which greatly facilitates honey harvesting and reduces stress on the colony. Refer to the product sheet for more information on its use.
EXTRACTION
First and foremost, ensure that the honey has a moisture content below 18%. Beyond this level, the honey may ferment in the coming months. Calculate the moisture content with a refractometer, and if it is too high, use a room where you create air circulation, with heat and a dehumidifier. Re-test after a few days to achieve a moisture level as close as possible to 17.2%.
Now, the honey is ready… The first step is to remove the capping, the small wax film covering each cell. The term used is “uncapping.” For this, an uncapping fork will be very useful, and to speed up the process, you can use an uncapping knife, but it’s not essential. The important thing is to preserve the condition of the cell constructions on either side of the foundation as much as possible. These frames will be your wealth for the next season. Bees will save a lot of energy as they won’t have to rebuild and can quickly focus on honey collection.
Once the frame has been uncapped, it should be placed in an extractor, either manual or motorized, and rotate the frames for 5 to 10 minutes, depending on the quantity of honey and its moisture content.
Collect the honey, while the extractor is running, in a 5-gallon bucket placed under the valve, on which you have installed a filtration system. It is much easier to filter the honey directly as it comes out of the extractor because it is still warm.
Honey Bottling
Your honey has peacefully rested in the buckets for a few days… now it’s time to honor it and put it in jars. Here, anything is possible, but we recommend using honey jars with “Twist-Off” caps rather than a simple Mason jar that may be difficult to reopen over time. Take the opportunity to embellish your jar with a label that highlights your product. Are you selling from home or at an outdoor stand? You have more flexibility, but if your product is sold on a grocery store shelf, regulations change for Quebec province. Take the time to inform yourself well with the MAPAQ, or to your province’s Ministry of Food if you live elsewhere.
Winterizing
The colony has been well treated during the season, and you have adequately fed them in the fall; you can already be proud that you have given them every chance to make it through the winter. As the cold sets in, you will need to install protection for the cold season. There’s no need to bundle them up excessively; bees don’t die from the cold. However, too much wind and excess moisture can be fatal to them. Hive insulation should not create excessive condensation, so be cautious with excessive wrapping, and there should be good air circulation.
When: When temperatures remain around 0ºC. Do it before the first snowfall so that equipment handling is easier.
How: You can opt for Bee Space™ insulation; it’s a very resistant fabric where the insulation principle is based on the air circulating between the outer walls of the hive and the fabric. For a more economical version, styrofoam installed between the inner cover and the top cover, as well as a double-bubble insulation “thermofoil,” will do the job.
A crucial detail: your entrance reducer should be installed at the smallest entrance from the beginning of feeding (mid-September). During the fall, the risks of robbing are high, and mice seek to take advantage of the warmth of the hive, so we leave the small entrance to reduce the space that the guards need to protect. When the cold is here to stay, make sure to remove the entrance reducer. Why? While the cluster maintains its warmth, 35% of the colony will gradually die. The living bees try to remove the “dead bodies” from the hive, but with the entrance reducer in place, they simply push the corpses towards the hole, causing moisture buildup in the hive. You must absolutely free the entrance, even if your instinct tells you otherwise. Store your entrance reducer until the end of winter.
To guide you through the season, here is our beekeeping calendar, which can provide you with the main guidelines and help you avoid some beginner mistakes.
Questions & answers
BLOG
Tips for End of Season
Each climate has its peculiarities regarding the wintering of hives. Here in Quebec, our bees must adapt and we must give them a helping hand.
What Do We Do in November?
By this time, you should have completed your feeding and treated your hive since mid-October (September and October).
Welcome to the World of Bees
Here is a short guide for people who are contemplating the idea of having a small apiary at home or in the chalet.

